
HOW TO: change disc brake pads on an old Honda motorcycle
Do your disc brakes squeal when coming to a stop at a light? Do they squeal when you're moving at low speeds? You probably need to replace or improve your disc brake pads.
Tools Required:
- Socket set
- Brake pads (I found mine here)
- Motorcycle
Steps:
1. Locate your disc brake. If you don't see a large disc on your tire, you don't have a disc brake. Brakes all look a little different, but it should look roughly like this:

2. Using your socket set, unscrew the two bolts running through your caliper (big black thing). Make sure not to drop the opposing brake pad when it becomes loose. Also try not to bang it against your rotor (big circular disc). The caliper and pad closest to you will hang by the brake line.

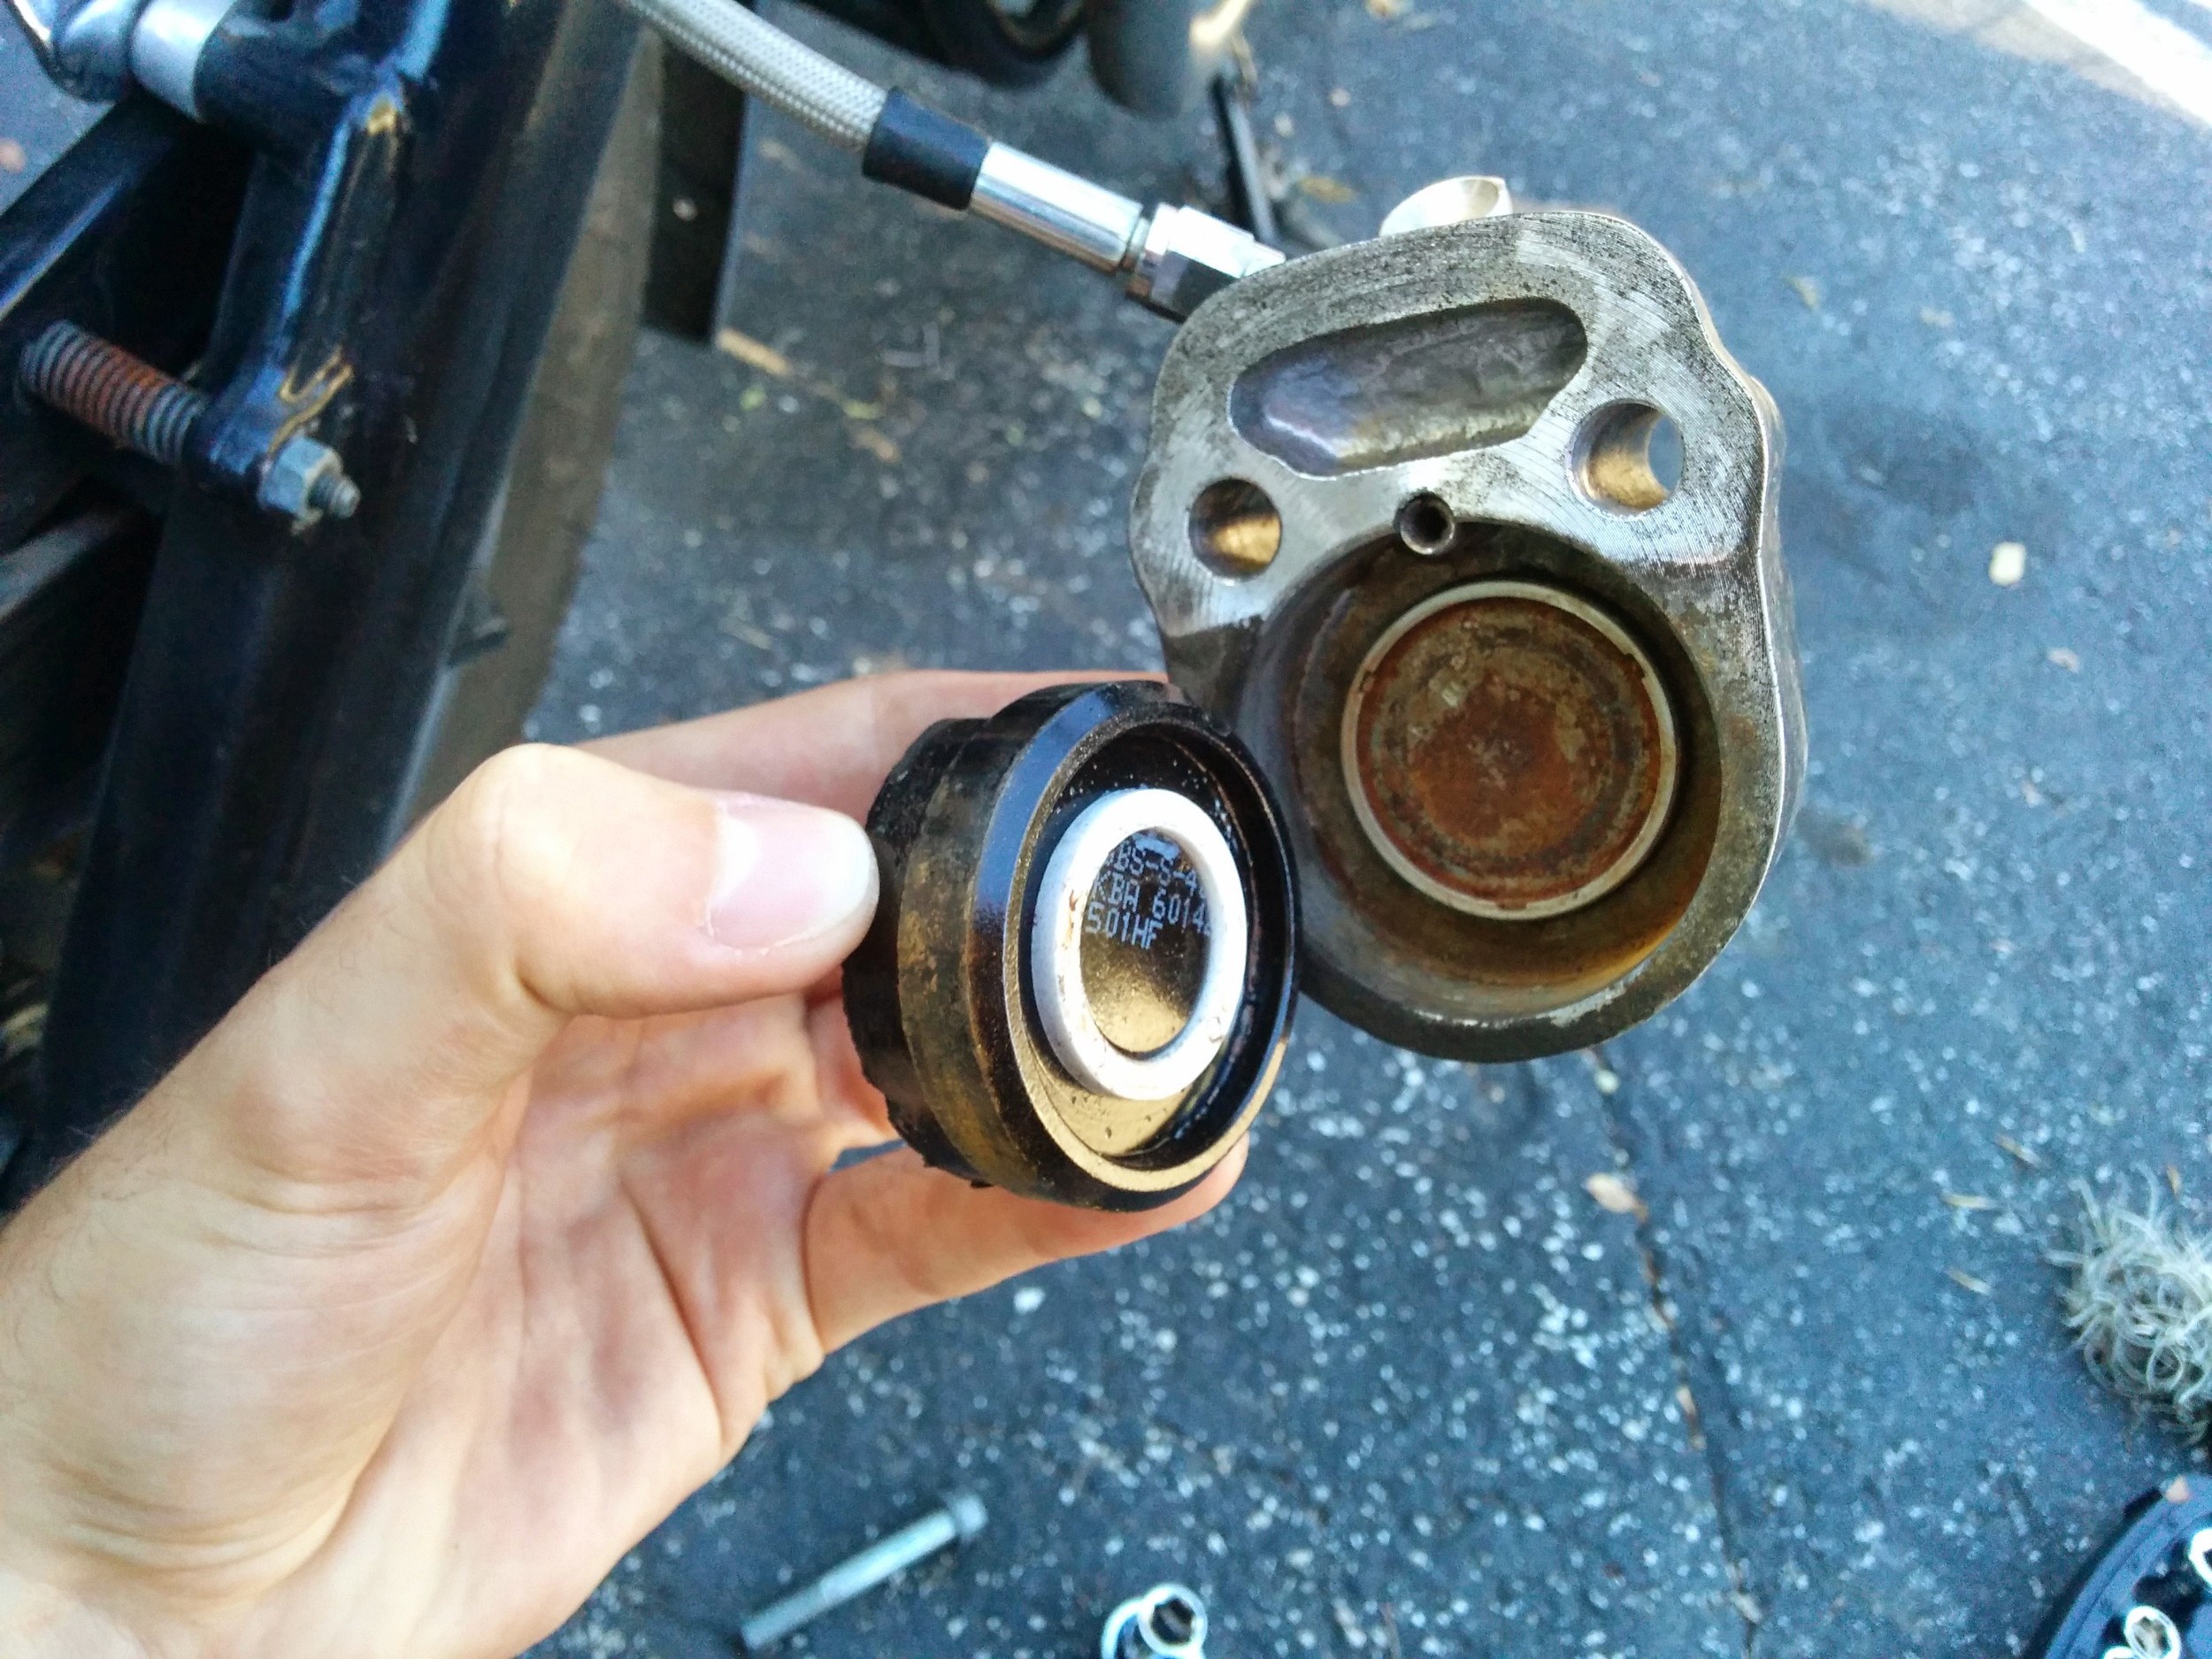
3. The brake pad on the caliper should pop right out (you may have to pull a little bit if your pads are rusty). There should be a small spacer ring between the brake pad and caliper. Don't lose that if you plan on reusing it.
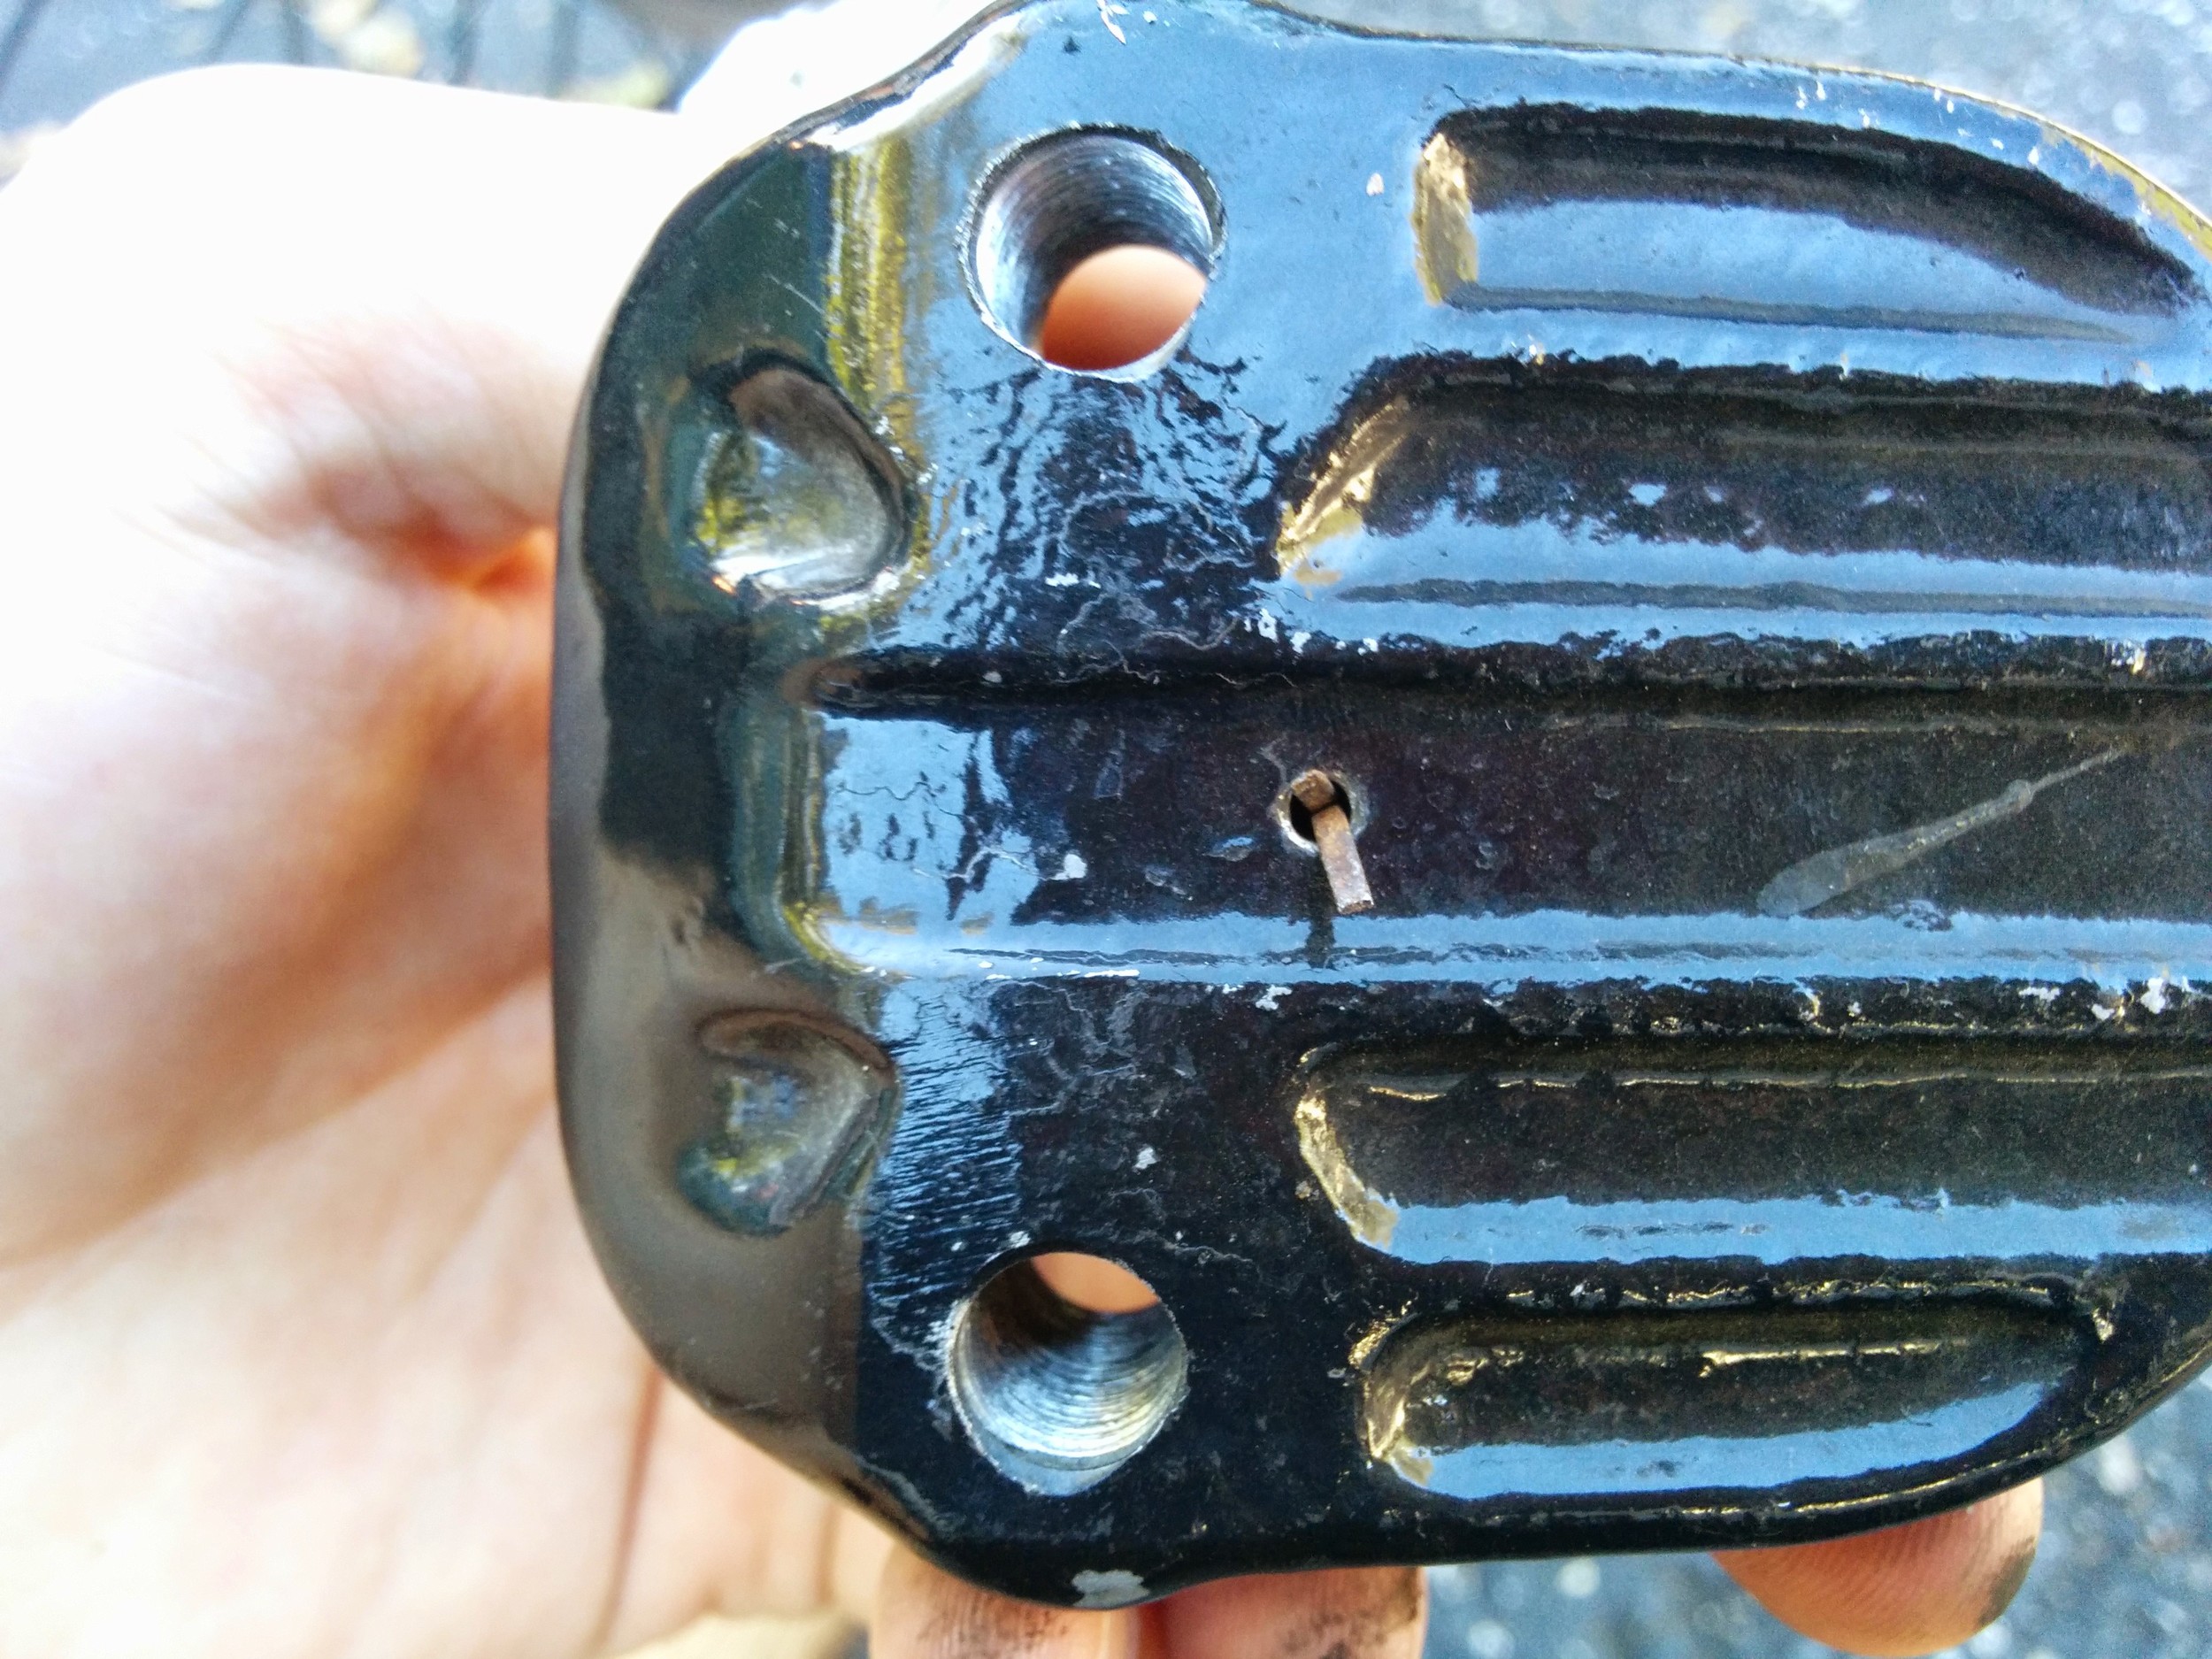
4. The opposing pad will be held in by a pin. Use needle-nose pliers or straighten out the arms of the pin and push them through the hole to free the brake pad.
5. At this point you have both brake pads off. Look at the pads - is there black "meat" above the red line on both pads? The red line indicates the bottom of the pad. If you don't have replacement pads and still have meat on your pads, your current pads are probably glazed over. Run your finger over them - are they smooth? You want them to be rough. Go to Home Depot and buy some 600 to 1000 grain sandpaper and sand those bad boys down (evenly!) until some of the glaze is gone. You may also wash them with warm soapy water, making sure to get all soap off and letting them completely dry. This is a temporary fix. You'll probably need to buy new pads soon.
6. Now with your new pads (or sanded pads), do the above steps in reverse - placing them back on their pad holder and caliper (making sure the spacer lines up with the back of the pad on the caliper), running the pin through the opposing pad, bending the pin arms out so the pad stays in place, then tightening the bolts back on (not too tight, but tight enough that your brakes don't fall off). The only extra words here are:
- Make sure the fronts of the pads (the parts that touch your brake) are clean of debris and not oily - If they have debris you're going to tear up your pads and if they're oily you're going to lose your stopping power.
- The pads will lightly naturally rest against your rotor - that's fine.
- Pump your brake a few times to tighten them up and test your success, then ride around close to home for a few minutes at a slow speed to make sure they work in action.
Congratulations - you just saved yourself money from shop labor and significantly boosted your testosterone.
Fun fact: the difference between a Honda CB360 and CB360T is that the "T" model has a front disc brake while its counterpart has a drum brake. Some homeless guy told me that in a parking lot so it's probably true.